

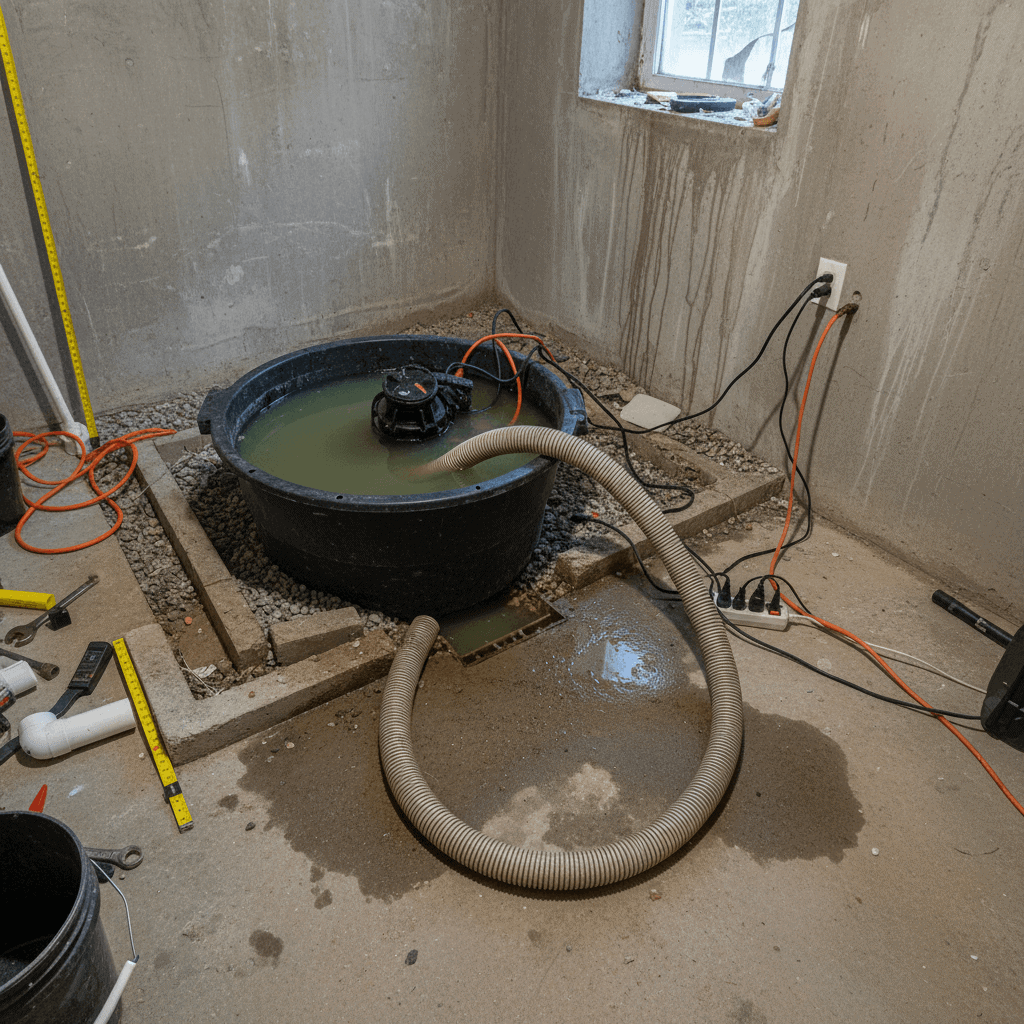
Setting up a sump pump is one of the most impactful home projects for preventing basement flooding and water damage. Yet many installations fall short because of small mistakes that create big problems later. This article will walk through the most common errors during sump pump setup and give practical tips you can use whether you plan to install the pump yourself or hire help.
I will cover site selection, pump sizing, discharge line routing, switch placement, power backup options, and testing routines. Along the way you will find examples of typical missteps, clear explanations of why they matter, and actionable suggestions for avoiding them. If you prefer to work with a local team after reading these points you can consult a trusted source like Brightwater Plumbing professionals for service and inspection.
Choosing the wrong pit location and size
One frequent mistake is selecting a pit location that looks convenient but does not capture the lowest point of the basement floor. Water flows to the lowest point, so placing the pit several inches above that point leaves standing water around it. That standing water can damage walls and belongings and will force the pump to run more often as it chases surface flow.
Another issue is a pit that is too small. A small pit fills and empties quickly which increases the pump on off cycles. Short cycling shortens pump life and can trip electrical breakers. Aim for a pit wide enough to let the float move freely and deep enough that the pump never runs dry during a pumping cycle. If you are replacing a unit check the new pump specifications against the pit dimensions before cutting any concrete.
Installing the wrong pump type or capacity
Not all sump pumps are interchangeable. Submersible and pedestal pumps serve the same basic purpose but behave differently. Submersible pumps sit inside the pit and are quieter. Pedestal pumps have the motor above the pit which makes maintenance easier but may be noisier and less effective in deep pits.
Capacity matters because a pump that cannot move enough water during peak runoff will allow the pit to overflow. Manufacturers list pump capacity in gallons per hour at various head heights. Match the pump capacity with your worst case scenario for heavy rain and the lift height to your discharge point. When in doubt, choose the model rated for a higher flow at the required head rather than a smaller unit that will struggle during storms.
Improper discharge line routing and check valve mistakes
Discharge lines are more than a hose out the window. A common error is routing the line where it can freeze, backflow into the pit, or reenter the foundation. Even a small downward slope back toward the house will allow expelled water to return to the pit or saturate the foundation soil.
- Keep the discharge line sloped away from the foundation at a steady grade so gravity carries water downhill.
- Extend the line far enough from the house to prevent water pooling near the foundation.
- Protect exposed discharge piping from freezing by burying it below frost line when possible or using insulation and heating cable in cold climates.
Check valve placement and orientation
A functioning check valve prevents water in the discharge line from flowing back into the pit between cycles. Common mistakes are installing the valve backward or choosing a valve type that is prone to sticking. Test the valve manually after installation to confirm free movement and that the flapper or ball seats squarely. If you use multiple valves place them so a stuck valve can be isolated for repair without major disassembly.
Avoiding small diameter piping
Some DIYers use garden hoses or PVC with insufficient diameter. Smaller pipes increase friction loss and make the pump work harder. Use at least the manufacturer recommended diameter and avoid excessive fittings that reduce effective flow.
Poor float switch placement and wiring errors
The float switch tells the pump when to run. If the switch is mounted too low the pump may run constantly and wear out fast. If it is too high the pump may not activate until the pit overflows. Position the float so the pump activates before water reaches the basement floor and deactivates once a safe level is reached.
- Allow clear space around the float so debris does not trap it in the on position.
- Secure wiring so vibration and movement do not loosen connections. Loose wiring can cause intermittent operation and increase the risk of electrical faults.
- If using dual switch systems for high water alarm and pump control wire each switch to its intended relay or circuit and label the connections for future troubleshooting.
Lack of backup power and redundancy
Power failures often coincide with storms when sump pumps are needed most. A single mains powered unit without backup is a common vulnerability. Relying on a single pump and line leaves homeowners exposed to a single point of failure.
Battery backup options
Battery backup pumps are a relatively simple layer of redundancy. They will keep a pit clear when the mains power is out for several hours depending on the battery capacity and pump draw. Choose a battery system rated for the pump it will operate and test the system periodically to verify battery health.
Secondary pump strategies
Installing two pumps with separate discharge lines and triggers reduces risk. A primary pump handles normal conditions while a secondary high capacity pump or alternating pump cycle prevents either unit from excessive wear. When installing a secondary unit plan the electrical layout so each pump can be maintained without shutting down the other.
Failing to test the system and perform regular maintenance
One of the simplest yet most common mistakes is setting up the pump and never testing or maintaining it. Sump pumps sit idle for long stretches and problems often show only when an emergency hits. Schedule quarterly tests and checkups to catch issues early. Testing includes pouring water into the pit to activate the pump and watching for correct operation including the check valve sealing and the float moving freely.
- Clear debris from the pit rim and screen to prevent clogs.
- Inspect the power cord for cuts or kinks.
- Verify the discharge line remains clear of obstructions and is firmly attached.
- Replace batteries and test backup systems before the storm season.
Improper electrical work and lack of GFCI protection
Electrical mistakes are dangerous. A common issue is using unprotected outlets or extension cords for sump pump power. Pumps must be plugged into properly grounded circuits with GFCI protection where required by local code. Ground fault protection reduces the risk of electrical shock in damp environments.
If the installation requires a dedicated circuit, conduit, or hard wiring, hire a licensed electrician. Proper wiring also includes correctly sized breakers and wiring gauge matched to the pump motor draw. Undersized wiring can cause overheating and nuisance tripping.
Poor planning for seasonal and climate considerations
Regional climate affects sump pump design choices. Areas with clay soils may see slower drainage creating extended wet periods, while sandy soils drain faster but can allow shifting that stresses piping. In cold climates protect above ground piping from freezing and consider deeper discharge trenches.
Think about landscaping and downspouts. Directing roof runoff into the lawn near the foundation defeats the sump pump purpose. Integrate roof drainage and grading changes with the pump discharge so all systems work together to move water away from the structure.
Example scenario to illustrate common cascade failures A homeowner installs a pump in a pit that is too small and places the discharge line close to the foundation. Heavy rain triggers the pump, the check valve is installed backward, water flows back, the pump short cycles and overheats, the circuit breaker trips, and the next day the basement shows water stains. Each error compounded the outcome and could have been avoided by a few simple checks during installation.
Simple checklist before finishing an installation Seal any concrete cuts around the pit so water does not seep back beneath the slab. Confirm the pump matches the expected flow and head requirements. Test the check valve and float several times. Verify GFCI protection and that the discharge line leads water well away from the foundation. If adding a battery system test run time under load so you understand how long it will operate during an outage.
Conclusion
Setting up a sump pump is deceptively straightforward yet errors during installation create recurring problems. The most common mistakes include poor pit placement, wrong pump selection, flawed discharge routing, check valve misinstallation, incorrect float wiring, lack of backup power, and skipping routine testing. Each of these can be addressed with a few deliberate steps. Measure the lowest point of the floor and size the pit appropriately. Match pump capacity to expected inflow and lift height. Install the discharge line with the correct slope and protective measures for freezing. Position and secure the float so it moves freely. Provide a backup pump or battery system and test everything regularly. Finally, follow electrical safety rules and call a qualified electrician for hard wiring jobs.
If you are comfortable with hands on work you can correct many mistakes yourself with the right tools and a careful plan. If you prefer professional evaluation a certified plumbing technician can inspect your setup, recommend the right pump and battery option, and verify electrical safety. A professional inspection can save money over time by preventing early pump failure and basement repairs. Take action now by testing your current system or scheduling an inspection so you are protected before the next heavy rain. Preventive steps taken today will reduce stress and repair costs later and help keep your lower level dry.
